Are you struggling with recording your Windows screen? Wait, What? Have you been trying for over a week? Woah! It must be so frustrating if you have an assignment or tutorial to record with deadlines crossed! We understand how you feel.
However, it seems the test of your patience is over. You have landed at the right place.
Give this write-up a read and record Windows screen like an expert!
Why Do You Need to Record Your Windows Screen?
Before we dive deep into the process, let’s understand the reasons behind getting your screen recorded. It is often said that you cannot understand what someone needs until you put yourself into their boots.
Let us walk with you!
| You might have an official presentation to record | It seems like you are a Youtuber posting tutorials about software development | Are you the company’s CEO looking forward to guiding your director through the company processes? |
| You might be a student trying to record your PowerPoint presentation. | Are you a bureaucrat trying to record data on your recent field visits? | Oh! So you’re a video games expert who helps people play well by sending them screen recordings of tricks to win! |
Now that we know what it feels like, we will guide you in the best way possible!
What Makes a Screen Recorder on Windows the Most Reliable?
We know how it feels when you find that the 45-minute screen you recorded on Windows failed to be saved owing to some technical error. Now you are back at square one. Isn’t it worrisome?
Well, not anymore!
We have prepared a checklist that you should tick mark before you opt to use any screen recording application!
It should be able to:
- Record Screen on all sizes and shapes
- Save the recording in a designated folder in case of technical glitches
- Warn the user about the recording limit before and during the recording
- Share on various platforms ( Email, Instagram, Whatsapp etc.)
- Show a user-friendly interface
- Easy export process
- The quality of the video should not drop when saved
Pro Tip:
Checkmark the aforementioned list before you start using a screen recorder for your Windows! In case any one of them is not present, find other options mentioned in this writeup!
Ultimate Manual for Screen Recording on Windows:
It’s about time we reveal the easiest techniques in town for screen recording on Windows. We have crafted all these techniques with due care and precision to make them ready to use!
To elaborate and systematically organize, we have divided it based on in-built and premium tools.
Have a look at the latter first:
In-built tools – bringing to use Free Screen recording applications on Windows:
You will be glad to know that like other in-built tools, Windows has gifted its users good quality and reliable screen recorders as well.
Have a look at them along with their features:
Snipping tool – snip screens easily:
The first tool which we would recommend you to try is the cute “ Snipping Tool”. It has many functions, from screen capturing to recording. Have a look at how you can access it:
Step 1:
Search snipping tool from the Windows bar
Step 2:
Open it and click on the new video option. This will move you towards screen recording.
Step 3:
Border the area of the screen which you want to record. If you want to record the entire screen, click on record.
Step 4:
Wait for the 3 seconds timer after which the screen will start to record.
Step 5:
You may pause the screen recording whenever you want to!
Step 6:
Once you are done with the screen recording, click on stop.
Step 7:
You can preview the recording before you save it. If you do not want it, click on the trash button.
Step 8:
If you want to save it, click on save! It will direct you to the desired file location where your file will be saved!
Step 9:
You can also share the file to various platforms by simply clicking on share.
This was a crisp explanation of how to use the snipping tool for recording the screen on Windows.
Xbox Game Bar – All Window Solution to Your Screen Recording Needs:
Welcome to the world of running screen recorders given the quality and easiness to use. In this perspective, Xbox Game Bar is a feasible option to consider.
Have a look at how we have simplified its use for you!
Step 1:
Search Xbox Game Bar App in Windows Search Bar
(OR)
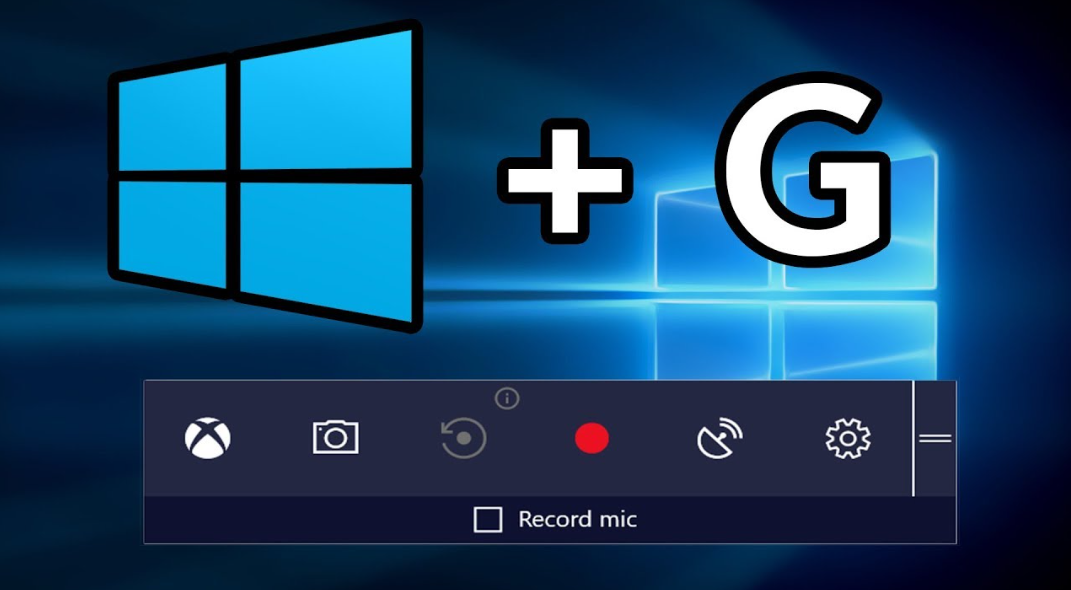
Type Windows + G from your keyboard
Step 2:
Both options will open the Xbox Game Bar application.
Take a look at how it looks!
Step 3:
Go to the capture widget and click on it
Step 4:
Hit the record screen on Windows
Step 5:
Pause or Stop the screen recording when you are done
Step 6:
Click on Show All Captures to get a preview
Step 7:
Push the save button if you want to keep the recording
Step 8:
Share the screen recorder once you have saved it!
This was an insight into how to use the Xbox Game Bar App for recording the screen on Windows.
Clip champ – climb high in the world of Windows Screen Recording
Does Windows Screen Recording seem an uphill task to you? Well, not anymore. Learn about clip-champ and get your Windows screen recorded in due time !
Step 1:
Search the Clip Champ application in the Windows Search Bar and hit open
Step 2:
Click on Create New video
Step 3:
You will get three options:
-screen and camera
-camera
-Screen
Just choose the part you want to record!
Step 4:
Click on the option of selecting the camera ( as per your requirement only)
Step 5:
Hit the recording button
Note:
The max record time is 30 minutes. If you want to record more, you can get its paid version.
Pro Tip:
Record in 1080P – it will make your video of high quality.
Step 6:
Lastly, you can stop, save and share just by clicking on the given buttons!
Comparative Analysis of Paid Screen Recording Tools For Windows:
For your comfort, we have researched and compiled top-notch paid screen recording tools.
Just give it a skim and you will be able to decide which one to choose!
| Name of Screen Recorder | Offered Features | Pricing Plan |
| Camtasia | Records screen and allows editing Save and share | 3-day free trial$180 per year |
| Loom | Simple and easy to use Sharing options available | Free version ( Chrome extension)150$ per year |
| ISpring Suite | Record ScreenShare easily Designing course included | 14-day free trial 970 $ per year |
Note:
There are many screen recorders for windows in the market. Just to keep it easy for you to decide, we have shared the high-ranked ones only!
5) Conclusion:
To conclude, screen recording on Windows always seemed to be but now is not. Several built-in tools such as Clip Champ and Snipping Tool are user-friendly. They also do not lack quality. If a user wants to go more than only screen recording, paid tools can be considered. However, if you want to save bucks, in-built screen recording tools in Windows should be your choice!
6) FAQs
- How much time does it take to record my screen on Windows?
Well, it depends on the length of your recording! If it is a minute video, it won’t take more than a minute! No-brainer alert!!
- Does the screen recording on Windows stay saved?
If you click on the save button after you’ve recorded the screen, it will simply be saved in your desired location. Therefore, remember to click on it!
- What to do if I want to stop recording the Windows screen?
Here we come to save you! All applications have a stop-and-pause feature for video recording. Just click on stop and your screen recording will stop!


